
Inlaid Die Cut Technique

In my Altenew class, Easy Die Cutting Techniques, I picked up several interesting ways to work with die cuts that go beyond the typical approaches. One that really piqued my attention was the lesson on inlaid die cutting. I have been wanting to try designing a card with inlaid die cutting, but had not actually tried it. The instructor demonstrated several ways to use inlaid, but I thought I would start with the traditional way of doing it. So, I tried it in a very low-key way using Altenew's Fine Bouquet Die, which has a relatively small number of inlaid pieces. 


NOTE:  In an effort to reduce lengthy instructions, I'm going to switch to a numbering format, and hopefully its easier on the eyes.
  1. Die cut the rose twice from white 80 lb. cardstock, and glue the two pieces together.
  2. Die cut the rose once using a coordinating piece of cardstock, I used cardstock that had a nice color gradient that reminded me of ink-blending. Glue that die cut to the rose die cut assembled earlier and reserve the negative pieces of cardstock.
  3. Cut an A2 sized panel of neutral colored cardstock, I used tan cardstock.  
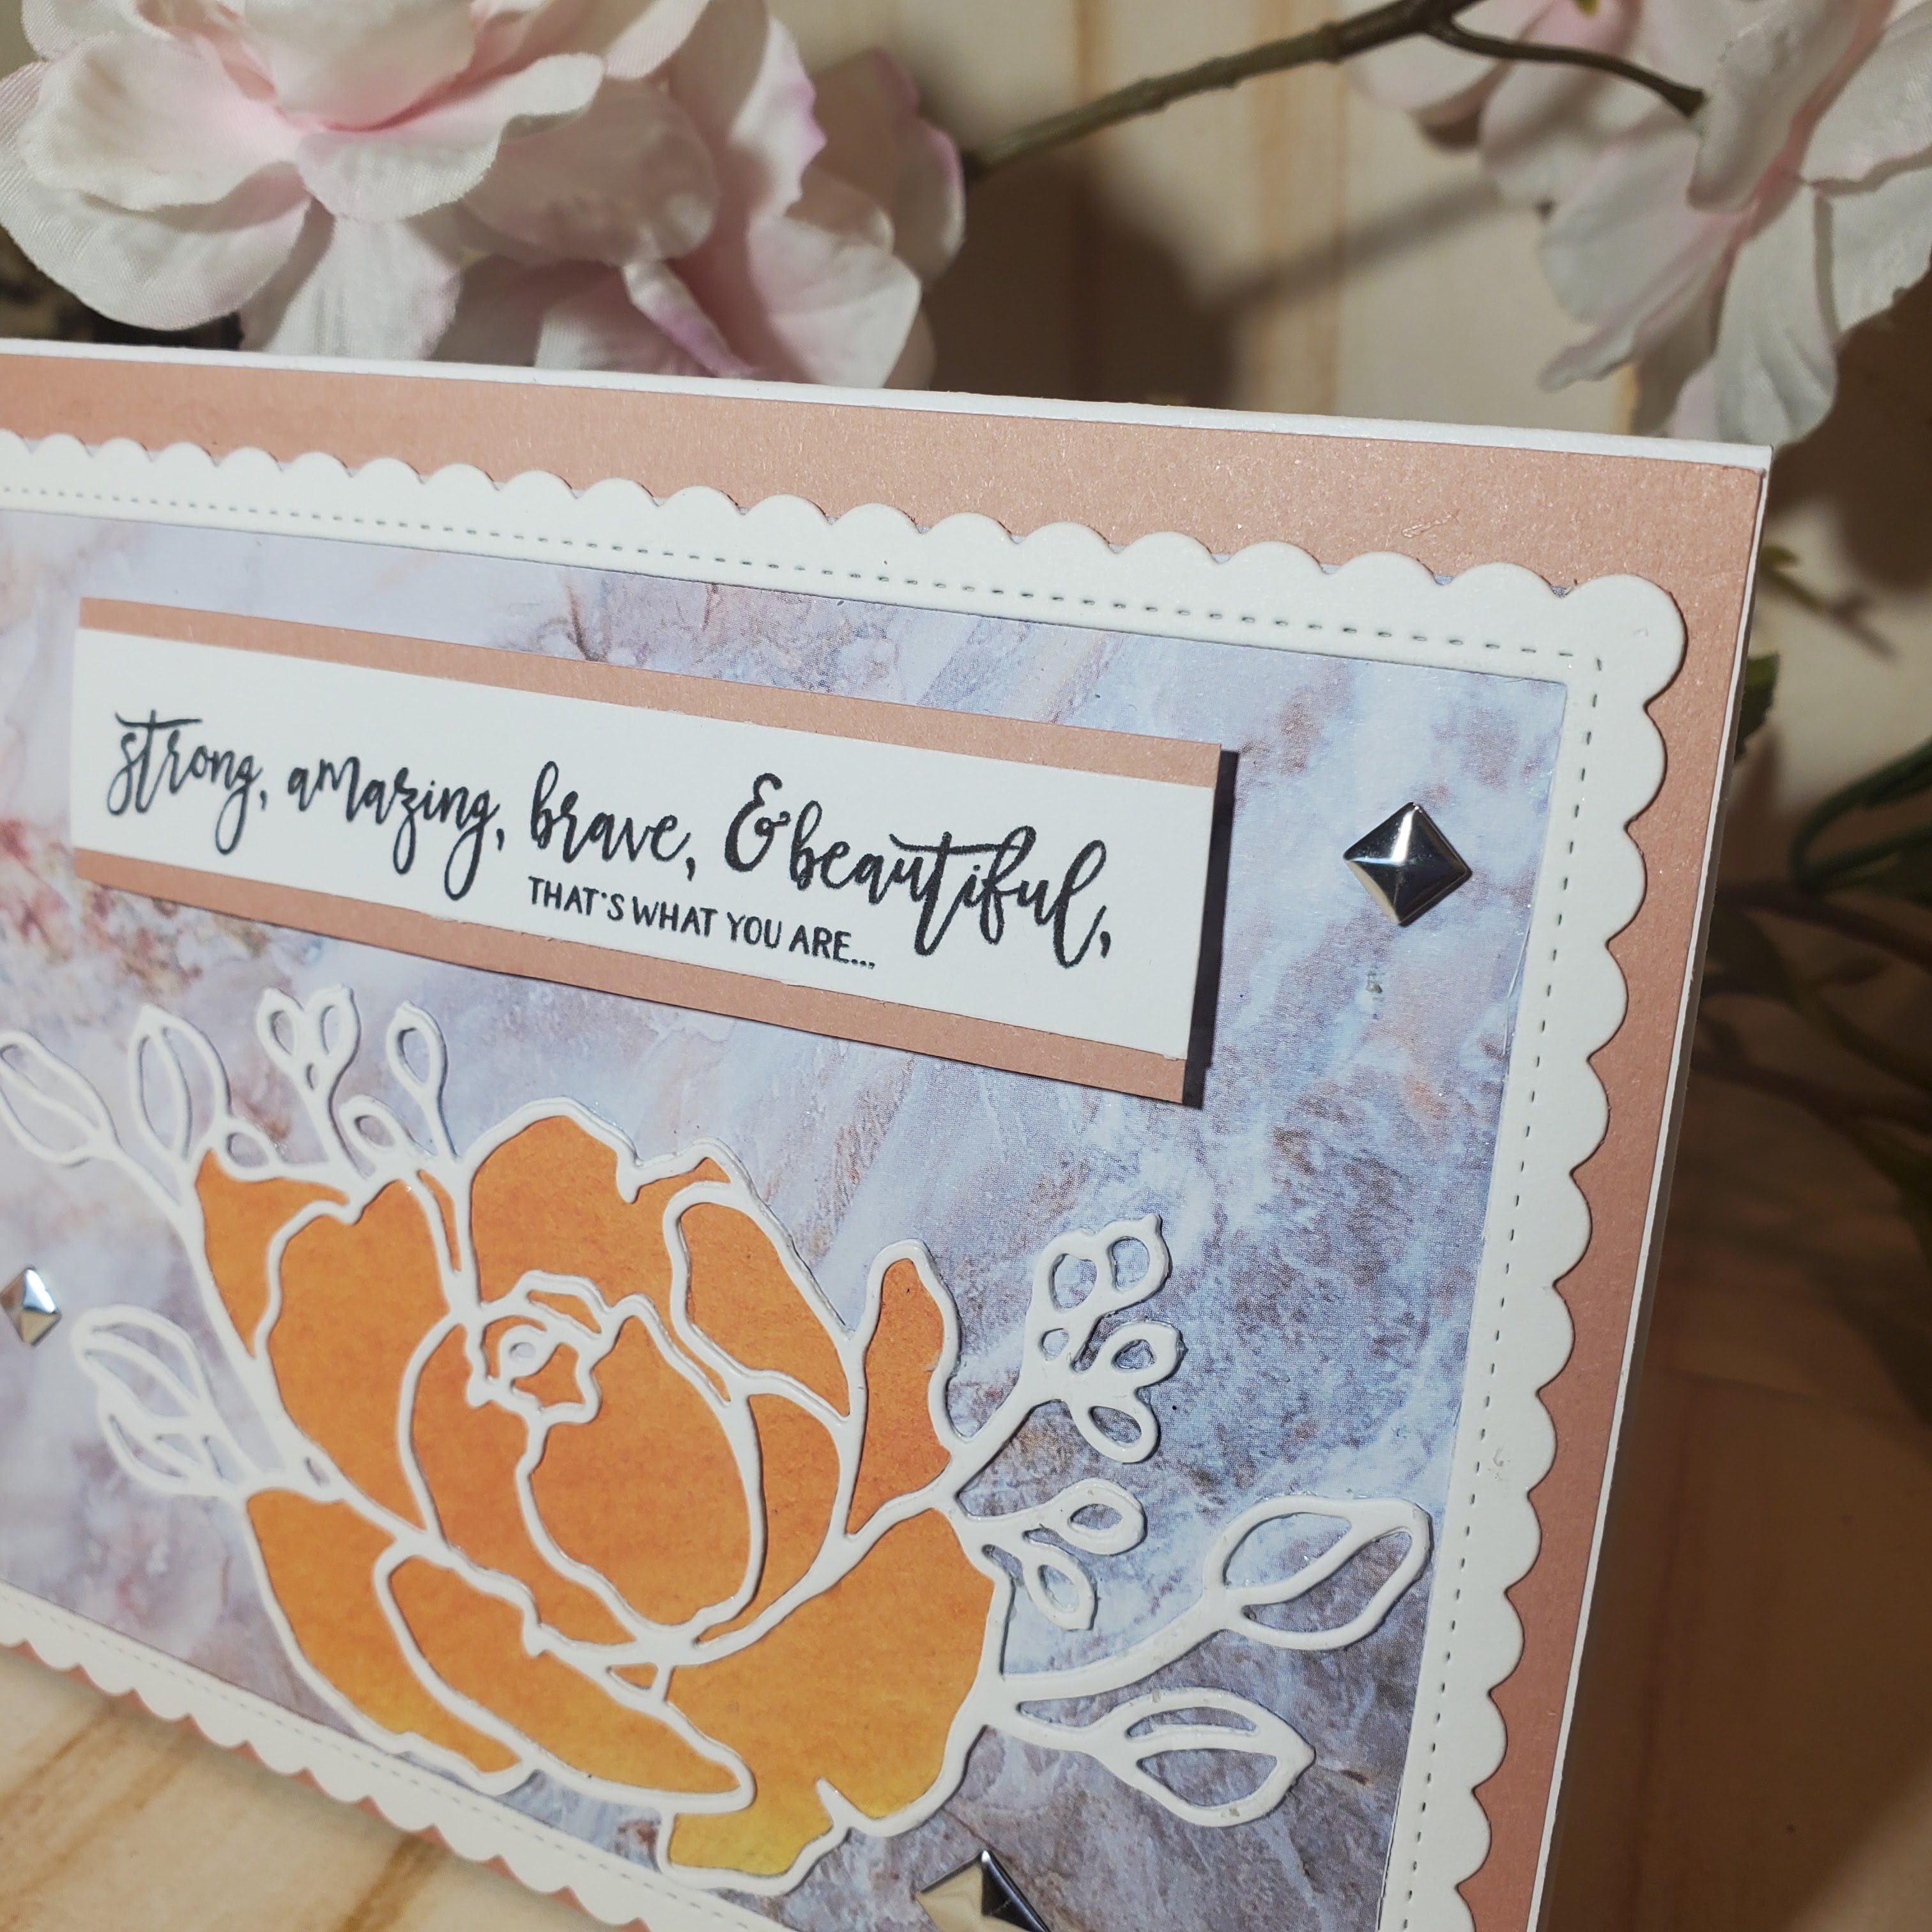
  4. Die cut a Gina Marie Designs scalloped/stitched frame from 80 lb. white cardstock.
  5. Cut a piece of patterned cardstock to 3.75"x5" and adhere it to backside of the frame. I used marbled cardstock.
  6. Adhere the rose die cut to the bottom of the 3.75"x5" card panel inside the frame.
  7. Using the reserved negative die cuts, glue each piece back into place on the rose die cut.
  8. Attach the mats and frames to a pre-cut 110 lb. white A2 card base as assembled in the photo. 
  9. Attach a sentiment. I print and cut a digital sentiment from Gracie Ellie Designs and added a piece of cardstock to mat it that is slightly larger than the sentiment at the top and bottom and glued them together.
  10. Add a few embellishments, I used silver diamond-shaped studs.


I am pleased with how this card turned out and definitely want to explore some of the other ways of using inlaid die cutting. I'm happy to say that lately when I am challenged with new cardmaking techniques that I am learning in the Altenew Educator Certificate Program I feel more at ease about dragging myself out of my comfort zone (kicking and screaming, lol).


Comments

Popular posts from this blog

Stenciling without Stamping First

When I started on this card, I had a vague idea ruminating in my head, but I wasn't sure how to accomplish what I was thinking. It came to me during an Altenew AECP class entitled, Celebration Stencil Techniques, where I watched the instructor, Laurel Beard demonstrate several cool methods for using stencils in creative ways. I wanted to do likewise, so I decided to use the Altenew Magnolia Ballerina three-layer stencil without stamping the image first. I know, its not revolutionary or anything, lol, but I had seen a few cards that looked like they were colored that way because the look of the coloring was diffuse and I thought that would work well with ink blending. That was the plan...and it turned out exactly how I envisioned it. I was pleased with the results of using the stencil set in a non-traditional way. I blended Distress Oxide inks in Squeezed Lemonade, Carved Pumpkin and Candied Apple randomly on each of the three layers. Without the guidance of the stamp outline, I fel...

Geometric Design is a Winner for the Guys

Geometric Design Works for the Guys In making another card for the guys, I turned to a set of Altenew stencils that when used together create a distinctive geometric design. The Deco Diamonds Stencil Set are part of a two-step stencil set and I selected Gina K. Designs dye ink cubes in Turquoise Sea and Sea Glass in separate steps to produce the geometric pattern. I felt the two colors would work well together but present a contrast as well.  After stenciling I cut the panel down to 3.75" x 5.0". Then I cut silver glitter cardstock to 4.00" x 5.25 and adhered the stenciled panel to the glitter cardstock for a bright border.  Next, using Cricut Design Space, I selected a text phrase, and  added an  0.25 inches offset surrounding the text. I used the Cricut to cut the letters in black cardstock and the offset was cut from vellum. I adhered the die cut phrase to the vellum shadow layer  using glue behind the letters to avoid the glue showing  and then adh...

Geometrics For The Guys

Are Cards for Guys Harder? I'm moving outside of my comfort zone in focusing on cards specifically for guys and by making a card from stamps that are geometric or abstract. One of the tips in the Altenew's Cards For Guys class, suggested using gender-neutral stamps. This stamp by Altenew named Trigonometry looked to be about as gender-neutral as a stamp could get!  I started by choosing a two-tone color palette of Altenew ink cubes in Limeade and Blush. Not having worked it out in my head and completely unsure of what my final design was going to look like, I selected one of the triangles in the stamp set and started inking it up!  Using an A2 panel of white cardstock, I continued to add patterned triangles to the card, alternating between Blush and Limeade ink and the card started taking shape. Once I felt like I had a design going, I decided to just keep adding other triangles and mixing the patterns.  I selected black cardstock and lime green cardstock for matting. I r...